Third post of my snakehound walking. This is continue from the first and second posts.
I had another go of redoing the snakehound walking (13/2/13), this time I scanned the frames into Photoshop, then put into Flash and trace over the frames in Flash.
And then in Flash, I colouring in I added a grey-snake skin texture to my snakehound walk.
After, that was completed, I opened up After Effects. Got the footage of my friends acting out what I wanted to with my creature such as walking it and running with my creature. I remove the background by Choose Effect > Keying > Keylight (1.2). Then in the Effect Controls panel. In Effect Controls panel, I clicked onto screen colour to remove the green in the background.
After that was completed, I imported the snakehound walk then place it onto the timeline, then save the file export the file. Got some feedback, there was a few things to improve on as the footage below shows.
I went back into Flash, improve the walk once again, the back on the snakehound was the main improvement to the previous walk.
Then I got the run-cycle drawn and imported into Photoshop, then put into Flash and trace and coloured in the frames in Flash. And exported as a flash movie to be improted in After Effects.
Then I got all the files into After Effects, which includes a new background. Placed them onto the time time includes a dog leash, which is been done by using a png file and using the pin tool in four different places.
After this was complete. I exported the file as a quicktime file, got some feedback, I needed to added a shadow.
After I added shadow and then soften the shadow, I exported the file as a H264 quicktime file for the finished video below.
Overall a touch challenge to complete the walk and run cycles, did take more time as I planned. But, I felt that I done a good job with the walk, run cycles and green screen overall within seven and a half weeks.
Basically, it took over three and a bit years this is Post 100. And so here's the post.
For this project is lip Syncing, this time is two different animation. One lip sync is randomly picked from the British Library sound achieve from the speech from Lord of the Rings creature J. R. R. Tolkien. And the other lip syncing is our choice.
For the J. R. R. Tolkien audio, my audio was: “one of my friends Hue”
I started off and got an x-sheet put the speech down I which frames I need to animate the audio.
Afterwards, I created the character in Adobe Illustrator.
After I completed designing of the character in Illustrator, I went into After Affects to do the animation.
After I placed the lips are placed in the animation, I exported the animation for feedback.
For feedback, I needed to make the chin to move more with the vowel characters and play more with the shape of the eyes. Got back into After Effects and emended the problems which need to fix.
After more feedback, I need to slow dow the pace of the lips, so the audience will know what his is saying.
For my personal lip sync, I used the Budd’s speech from Kill Bill 2 were he says:
“That woman, deserves her revenge and… we deserve to die. But then again, so does she.”
So I started off with the x-sheet put the speech down.
Then I gone into Adobe Audition to tidy up the audio. Then afterwards, once again I gone into Illustrator to create the character.
After the character was created I gone into Flash to do the animation.
Got some feedback, I need to slow down the pace of the lips and also silhouette the teeth and keep the rabbits front teeth throughout the animation for the animation below for the finish product.
This post should have been posted around a month ago, but I forgot to do so. So better late than later. Anyway, I went to Mudchute Farm (10\1\13) and Park in east\central London and Lee Valley Park Farm (12\1\12) at Waltham Abbey in Essex this was research for the creature project. Enjoy the sketches.
This project is similar to the fashion project, this project was only two weeks long. Were we had to think about a character receiving a box, taking something out of the box, reacting to it through facial expression and then passing the box.
I started of by filming someone acting by picking up a box reacting what the present I picked up through facial expression and then passing the box.
Then I started off by drawing my thumbnails/storyboard down, this was basic drawn down due to I didn’t know the style and the design of my character will look like. I scanned in the thumbnails anyway to do an animatic.
Then I went into Flash, to do another animatic, this time for timing reasons and get the timing right.
Then I figured out what the character will look like, I based the character similar to the lost boys from “Peter Pan” (1953) and Bloodhound Gang music video “The Bad Touch”.
Then what the character will look like, I went back into Flash to do the keyframes and create the animation as-well. Got some feedback, but it was more of styling rather than the keyframes which was the main problems and also adding a neck to the character.
After I got the styling right from the feedback and added a neck to the character, I completed the animation with the remaining in-between frames to completed the animation.
Personally, I enjoyed this project much more than the last fews projects overall.
I showed off my rough edit, three things I need to improve on, one was make the crack sign more larger, the other was make the fall faster and thirdly add another frame for the impact when she hit the floor
Day 6: 28/1/13, Day 7: 29/1/13 and Day 8: 30/1/13
After this, I went back onto the light-box to draw the whole of the animation with a few cheap blue biro’s instead of using a blue pencil, which will give an edgy style to my animation.
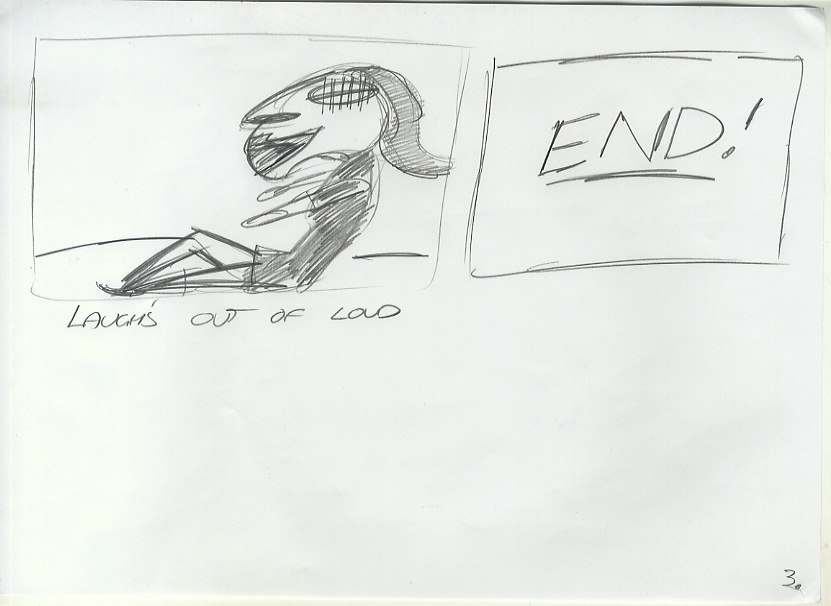
This took around three days to draw the whole animation. After I drawn all of these I scanned them into Photoshop. However I wasn’t satisfied with the last few frames with the laugh. I felt that the head needed to move more. So therefore I jumped back onto the light-box re-edit the last few frames, then re-scanned into Photoshop.
Day 9: 31/1/13, Day 10: 1/2/13 and Day 11: 2/2/13
After all the images were scanned in, I went back into Photoshop and retouched the images and delete the backgrounds which had white in. After this was complete, I took all the images into Flash and place all the images onto the timeline. After that was done, I exported the movie as a quicktime file. Here is the animation below of the final piece.
Overall, great challenge to do within in two weeks to animate.
We were given two weeks to animate a short five to ten second piece related to fashion. My task was to show a catwalk model takes a step a step and her heel breaks, she falls over and reacts.
Day 1: 21/01/13
I Started off going into Youtube, looking at catwalk model falling over to get some ideas done.
Then after that was done I started off developing the character. Someone reckoned my character look familiar to Spanish actress Rossy be Palma looks.
Day 2: 22/01/13
After I got an idea what the character will look like, I gone to rough storyboards, to show what the story will be.
Day 3: 23/01/13
After I done the storyboards, I went to the light-box and draw down a few model walk cycles of the model in rough form.
Day 4: 24/01/13 and Day 5: 25/01/13
Then once again I went back onto a light-box and this time I draw down the keyframes in pencil. After that was finished scanned into Photoshop, then put into Flash for the rough keyframes below.